
The difference between pleats and gathers is how fullness is organised. Pleats arrange cloth into defined folds. Gathers draw a longer fabric edge into a shorter joining length, creating distributed small folds. Both can add volume, but they create different visual rhythms and require different instructions.
When comparing pleats vs gathers, start with the effect you want and the location where the fullness is controlled. Several lines in a fashion sketch do not settle the method.
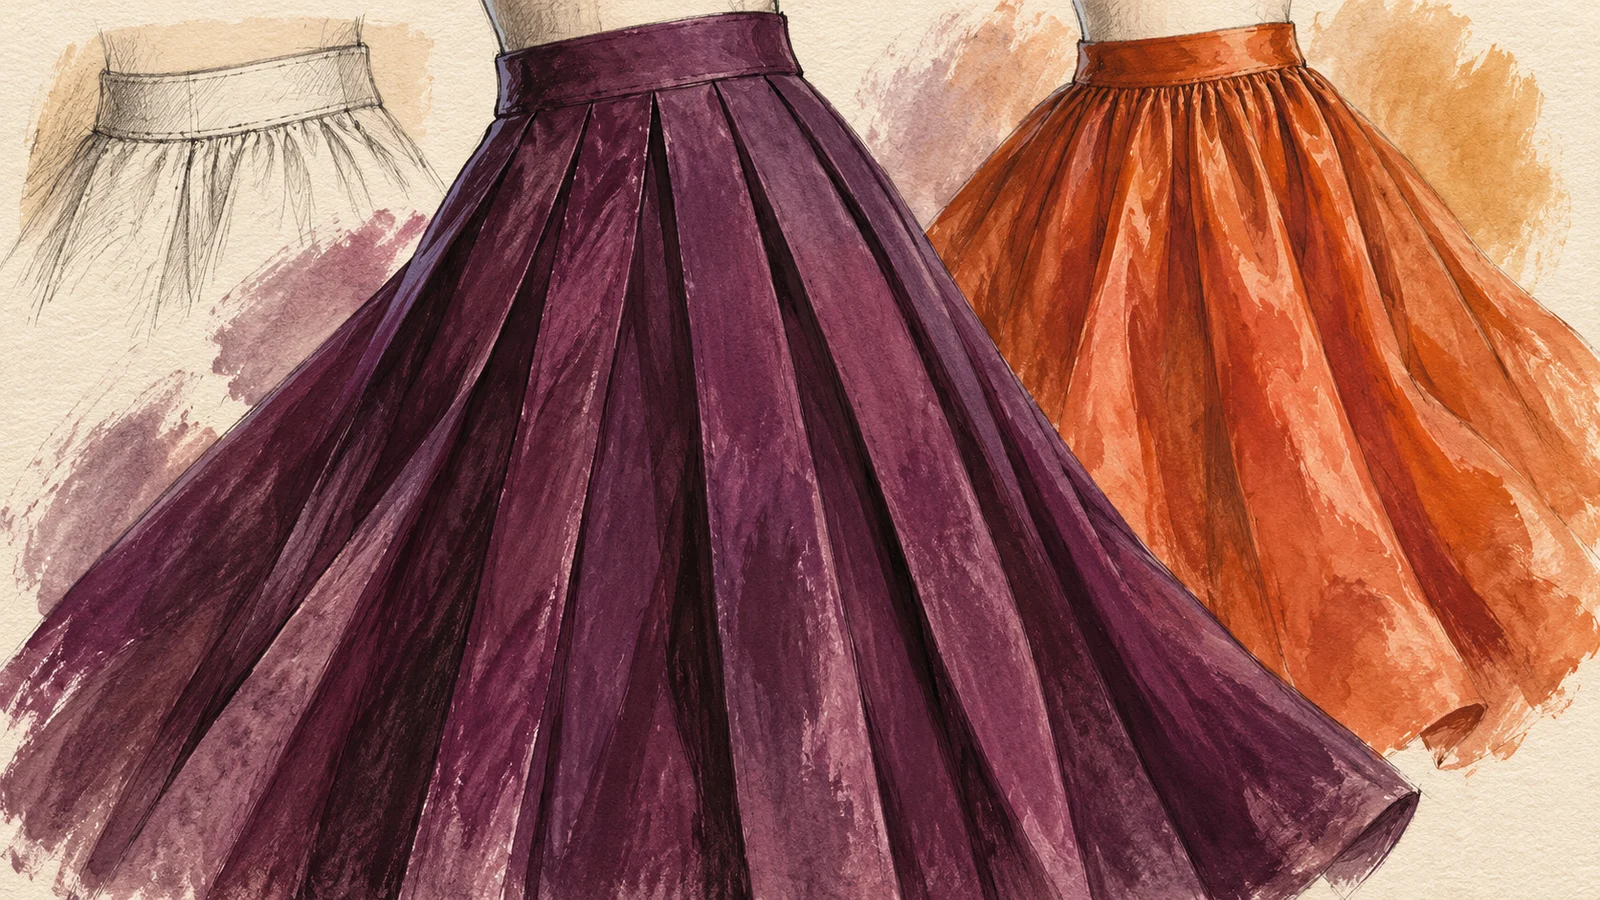
Describe the structure behind the lines
For pleats, identify the type, direction, number and location. State how much is stitched down and where the fold is released, if relevant. For gathers, identify the gathering zone, its finished joining length and the intended distribution. Keep these details consistent with the pattern and specification.
A pleat that is pressed but free below the waist behaves differently from a tuck stitched along its length. Show the selected treatment rather than using the terms interchangeably. Use a detail view where an overview cannot explain the construction.
Decide where the volume should appear
Consider an illustrative skirt with fullness below a clean front waist. One proposal uses pleats positioned away from the centre; another places gathers only in selected side sections. Both can leave the centre visually quieter, but the distribution and side silhouette will differ.
Mark areas that must remain flat. Check the back separately instead of assuming it mirrors the front. State whether fullness is symmetrical or intentionally different between sections.
Trial the actual layers at the joining seam
Fullness concentrates fabric at a seam. The bulk depends on the material and construction, including linings, waistbands and support. Trial the relevant combination and inspect the inside as well as the outside.
Do not adopt a fixed gathering ratio from a visual reference as a universal answer. The desired appearance and the selected fabric must be considered together. Record the pattern or trial version used, then compare the assembled result with the intended silhouette.
Define the role of pressing and care review
If a design depends on a pressed fold, make that requirement explicit. Pressing conditions need to suit the material; NMSU’s pressing guidance discusses handling pleats and tucks and testing pressing on a scrap. A pressed sample does not by itself establish lasting pleat retention through the intended care process.
Where care performance matters, agree an appropriate test and acceptance basis. Do not infer permanent pleating from a drawing, a fibre label or the appearance of a newly pressed sample.
Connect the detail to the complete garment
Review how the volume affects sitting, walking and the overall outline as relevant to the style. Photograph the garment at rest and under the agreed review conditions. Distinguish a design preference from a construction fault in the comments.
For the surrounding decisions, use our guides to dress silhouette development and fabric choice from a sketch.
Include fullness placement, finishing and material requirements in the complete tech pack submitted to KEYIDI TEXTILE, or provide a physical sample garment with clear changes. The tech pack checklist helps connect the detail to the wider style brief.
Ready to Discuss Your Next Collection?
Send your garment brief, tech pack or physical sample details, fabric requirements, and target quantities for review.
Formal development requires a complete production-ready tech pack with specifications, or a physical sample garment. Concept sketches alone are not sufficient to start development.
Send Production Enquiry ↗Or email us directly at info@keyiditextile.com