
To develop technical flats from a fashion sketch, first decide what the drawing means. Tracing the outer line creates a cleaner outline, but it does not resolve hidden openings, uncertain seams or missing back details. A useful flat makes those decisions readable and links them to the rest of the style specification.
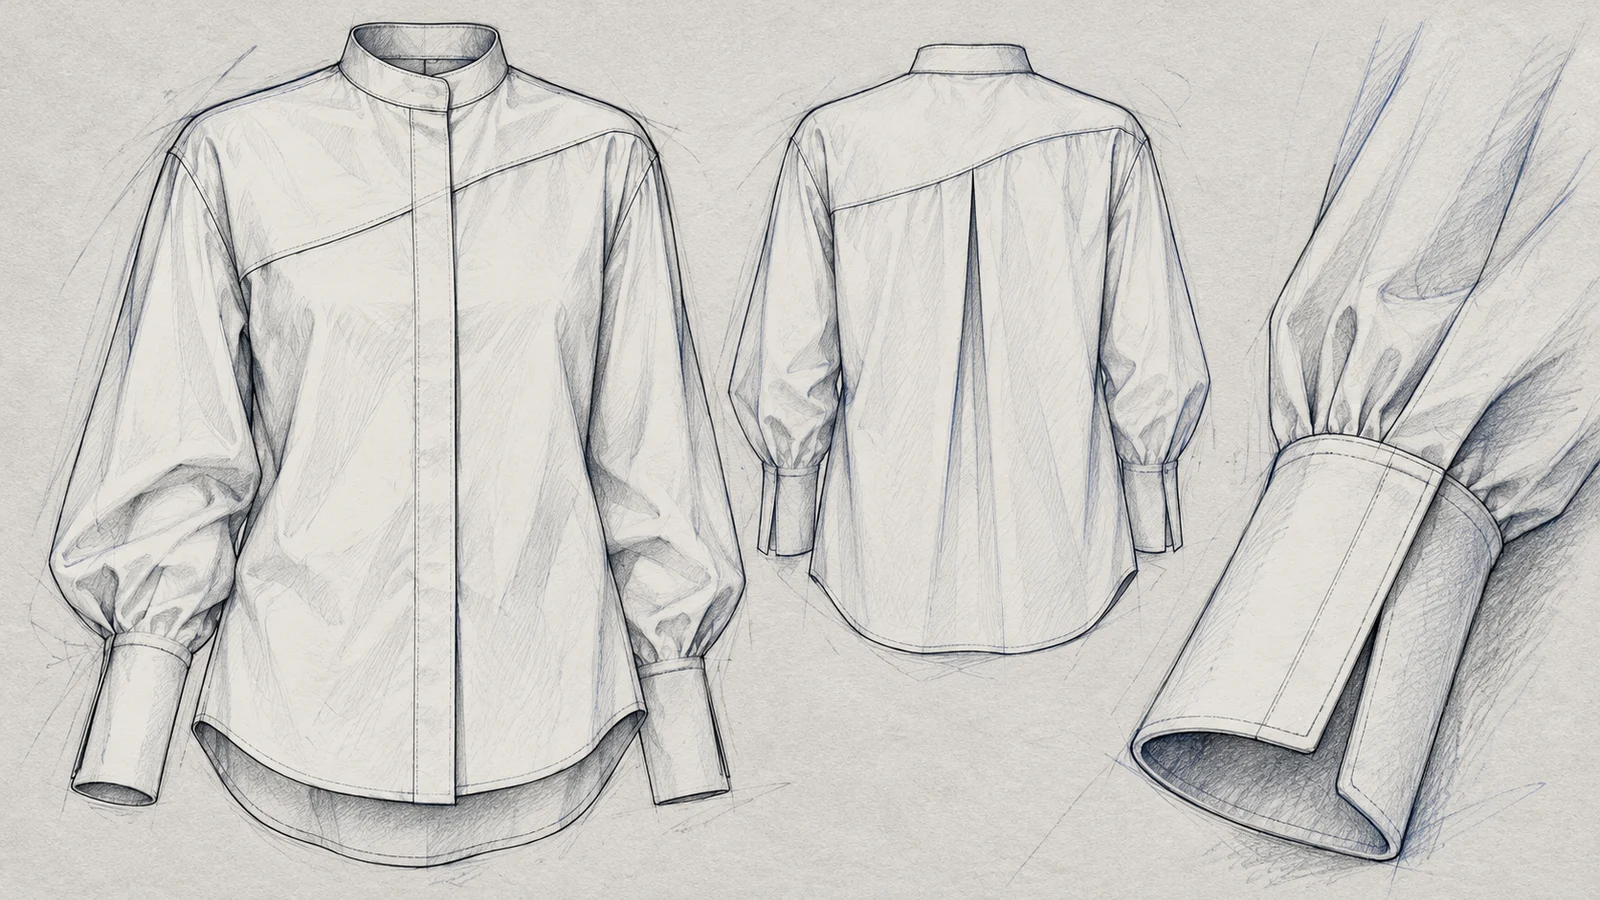
Prepare a neutral base without losing the design
Identify the garment category and intended proportions. Remove the figure’s pose from the working view while preserving the garment’s actual asymmetry, dropped shoulder or uneven hem where these are intentional. A flat need not make an asymmetric garment symmetrical.
Use a consistent base for related styles so differences are deliberate. Mark which view is front and which is back. Unless the drawing has an explicitly defined scale and controlled output, use written dimensions rather than asking the recipient to measure the image.
Classify every important line
Work from the outside inward. Identify the neckline, shoulder, armhole, side seams and hem. Then classify darts, panel seams, pocket openings, folds and stitch lines. If a line has no settled meaning, leave a question in the working draft and resolve it before issuing approved instructions.
For example, a curved line across a blouse front might be a yoke seam or decorative stitching. Those choices produce different construction requirements. Drawing both with the same unlabelled stroke asks the sample maker to make a design decision on your behalf.
Show a complete route around the garment
Check that front and back views agree at the shoulder, side seam and hem. A front yoke should not vanish at the side unless that termination is intended. A belt needs a defined relationship to loops, side seams or the back. Add a side or internal view when the relationship remains unclear.
Create enlarged callouts for a concealed placket, cuff opening, neckline finish or pocket construction. Place callout identifiers on both the overview and the matching detail. A detail without a location is difficult to apply consistently.
Link the flat to specific information
Use one style code and revision throughout the drawing set. Keep material references consistent with the bill of materials, and measurement references consistent with the measurement sheet. If the cuff is item C on the flat, another sheet should not call a different component C without explanation.
- Define the meaning of solid, broken and hidden lines where needed.
- Identify functional and decorative fastenings.
- State when a view shows the inside of the garment.
- Reference agreed measurements and construction notes instead of leaving them implicit.
Run a reading test before handoff
Ask a colleague to describe the garment using only the flats and their notes. Any question that changes what gets cut or sewn deserves attention. “I cannot see the back opening” is useful feedback, even if the front drawing looks finished.
Compare the result with the selected illustration. If the drawing now describes a different silhouette, either correct the flat or record the intentional design change. Keep rejected alternatives out of the current instruction set.
The distinction between fashion illustration and technical drawing helps explain the purpose of this exercise. The wider sketch-to-garment workflow places it before pattern and sample testing.
For KEYIDI TEXTILE project review, supply a complete tech pack with production-ready drawings and specifications, or a physical sample garment. See the woven-apparel tech pack checklist for the information that must accompany the flats.
Ready to Discuss Your Next Collection?
Send your garment brief, tech pack or physical sample details, fabric requirements, and target quantities for review.
Formal development requires a complete production-ready tech pack with specifications, or a physical sample garment. Concept sketches alone are not sufficient to start development.
Send Production Enquiry ↗Or email us directly at info@keyiditextile.com